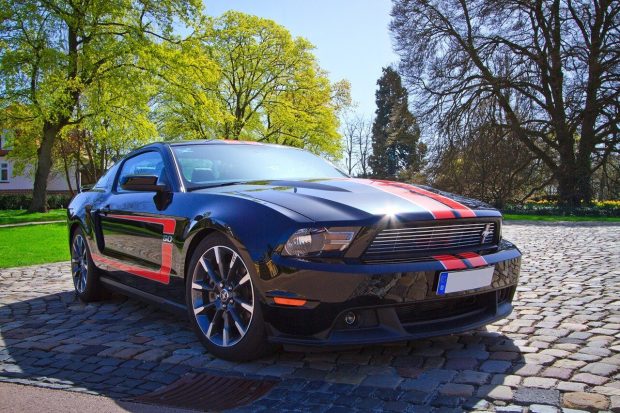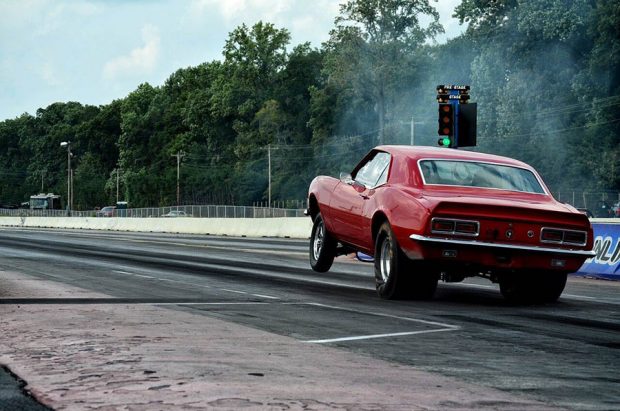
Car enthusiasts love photographing their muscle cars, no matter the occasion. Perhaps they’re trying to sell the vehicle, or maybe they’re preparing for a car show. Maybe they just got it waxed and polished and simply felt like taking pictures.
If you want to get the perfect shot of your prized vehicle, take the following steps to set yourself up for success.
1. Invest in a Quality Camera
The first step to getting the perfect shot of your car is acquiring a durable camera with a high-quality lens. Unless you have the latest Apple or Google smartphone, cell phones and cheap digital cameras won’t take the high-resolution pictures you want.
You want to get a single-lens reflex (SLR) camera or a more modern DSLR (digital single-lens reflex) camera. These cameras will allow you to swap out lenses, adjust focus points, and change shutter speeds, which will give you professional-looking pictures as you see in the magazines.
Another feature that could make a big difference is a circular polarizing filter, which will slightly dull your car’s reflection and filter out any unwanted reflections in the photo.
2. Determine the Location
Once you have the tool, you have to find the location. You should choose a wide-open flat space that’s relatively remote and has little artificial light.
The most common location with all of those qualities is a large empty parking lot with a few overhead lights as possible. This location will put your car directly in the spotlight with no other distractions.
Alternatively, you could choose a location with a background that fits your car’s style, like a beach or a countryside landscape. You won’t be able to photograph outside every day, though. If you need to move inside due to weather or other factors, an empty garage, storage unit, or pavilion with enough space will also suffice.

3. Prepare the Scene
Once you have your camera and other necessary equipment prepared, you have to set the stage for the shoot. Make sure you remove all blemishes from your car, then give it one more wash and polish. Tidy up around the site so your car is the center of attention.
Now that the car and location are prepared, you just need to wait for the right day and time to carry out the photoshoot.
4. Find the Right Lighting
If you managed to find an accessible empty lot, try to carry out your photoshoot on an overcast day or a clear night. If the shoot is taking place inside, you can buy some equipment that will provide you with sufficient lighting:
- Ringlight: Specially made to illuminate the subject of close-up shots
- Softbox: Gives the photo a soft, glowing texture
- Monopod: Connects to the softbox, allowing for easy light adjustment
- Wireless Trigger: Controls your camera flash remotely, allowing you to perfectly time your photographs
The right lighting will give your car that coveted shine that all car photographers aspire for, and it will also accentuate your car’s best qualities if shot from the right angles.
5. Focus on the Angles
Speaking of angles, you need to take pictures from various flattering positions to get the perfect shot. The three-quarter angle reigns supreme when it comes to cars, but you should also try the following angles:
- Front head-on
- Front 1/3 angle
- Front 3/4 angle
- Side head-on
- Rear 1/3 angle
- Rear 3/4 angle
- Rear head-on
Those angles are the standards for car photography because they highlight the car’s best attributes: the headlights, wheels, grille, and other flashy features. But you should show a little more creativity than that. Keep these details in mind during the shoot:
- Turn the wheels so they face towards the camera.
- Keep all four wheels in the shot.
- Shoot from lower positions to make the car look imposing.
- Shoot from higher positions to show off the car’s bodywork.
6. Spend Some Time Editing
You’ve completed the photoshoot, but the work isn’t done. Download the photos onto your desktop and do some editing to spruce them up. Any editing software will do, but Adobe Photoshop is the standard.
Start by adjusting the brightness, saturation, exposure, highlights, and other features. Then you can put the images through different filters. You can also play around with the motion blur effect to make your car look like it’s driving.
A final word on editing: always keep the original photos safe in another folder in case something happens.
7. Avoid Common Photography Mistakes
Photography is a largely subjective activity, but people still make some common blunders that can ruin their pictures. Steer clear of these mistakes:
- Complicated angles. Keep the angles relatively simple.
- Close crops. Leave some breathing room around your vehicle.
- Black-and-white filters. Color always looks better with car photos.
- Overlaid logos. Don’t add your own logo or signature to the images unless you plan to sell them.
- Too much photoshop. Reserve your editing for simple changes. Don’t alter too much.
Remember Why You Started
Getting the perfect photo of your car will require time, resources, and dedication. If you ever get hung up during the process, remember why you started: to give your beautiful car the appreciation it deserves.
VN:F [1.9.22_1171]
VN:F [1.9.22_1171]
Source link


